Showing posts with label Ice resin blog. Show all posts

Sunday, November 10, 2013

Rue Romantique Christmas blog hop

Welcome to the last day of the Rue Blog Hop.  I hope you have seen all the great ornaments on Friday, Nov. 8 by Kristen Robinson, Jen Crossley,Cindy Cima Edwards and Cindi Bisson.  

Saturday, Nov. 9 was packed full of great bits by Carol la Valley,Lexi Grenzer, Pamela Huntington, Susan Walls and
Jen Cushman.  

Today you can find work by  Thespa
McLaughlin, Lesley Venable, Jo Mama and  Susan Weckesser

For those of you who have been watching my work, you know I'm on this animal kick.  I love to cast animals and incorporate them into my work.  So when I heard we were doing an ornament, I knew it would have to have some sort of animal.  I love finding a sleeping owl nestled in a tree in the middle of the day, so I wanted to bring that feeling into my ornament.

I started by casting an owl with Ice resin.  


I Used golden fluid acrylic to color the surface.  These add color but allow light to come through

I used the interference blue to add some shimmer to the surface.  I then sprayed the piece with a polyurethane clear coat.

Next I drilled a very small hole in the center to the bezel


 just large enough for a head pin to fit snug.  I folded the head pin over so it would lay flat and taped it down.  This helps ensure no resin will seep through


The Rue Romantique bezels are great for adding patina because all the fine detail allows for contrast.  I wanted a rustic sort of look, so I painted the entire bezel with white nail polish and allowed it to dry

 Once it was completely dry, I rubbed off the highlights with sand paper.
 Once I had enough of the polish off, I used the Golden paints to add highlights.  You could also use an Ink pad, oil pastels or anything else that adds color!


I mixed a small amount of Ice Resin and poured a few drops into the bezel.  I covered the Resin with some pink glitter because...well who doesn't love glitter?
While that was drying, I made a tassel with some ribbon, leather, chain and a  stick I had covered in resin awhile back.

TIP: when your not feeling particularly creative but you want to be in the studio, I spend my time creating components.  I will make resin paper, sticks and other bits.  Sometimes I just cut and enamel interesting shapes.  That way, when the mood strikes, you have baubles and bits to use and you don't have to wait around for things to dry!!


I took a pre-made flower ribbon and created a wire wrap on each end.


Once my bezel was dry, I drilled a hole on either side and attached the flower ribbon.
I made a loop on the end of my head pin and attached my tassel, and Viola, a sleepy owl to rest in your tree all season long!!Ill probably wear him around my neck after Christmas!!

Happy Blog hopping

Friday, November 8, 2013

Heartfelt Home on Ice Resin Blog


color on metal


You can check out my Heartfelt home at the  Ice Resin Blog.  It has all the information you need on how to make this sweet little house

Friday, August 30, 2013

This is what happens when #craftingtheemmys, #IceResin #CHA #handmade #Jewelry


My dining room is no more "Key kids, wanna go out for dinner?"

sneak peak at Emmy Bracelet

anther sneek peak

My living room has also been taken over.  No living going on here!

My poor Poor Studio.  Its always cluttered but Ive never seen it like this!!

My hands AFTER I washed them!!
another studio shot

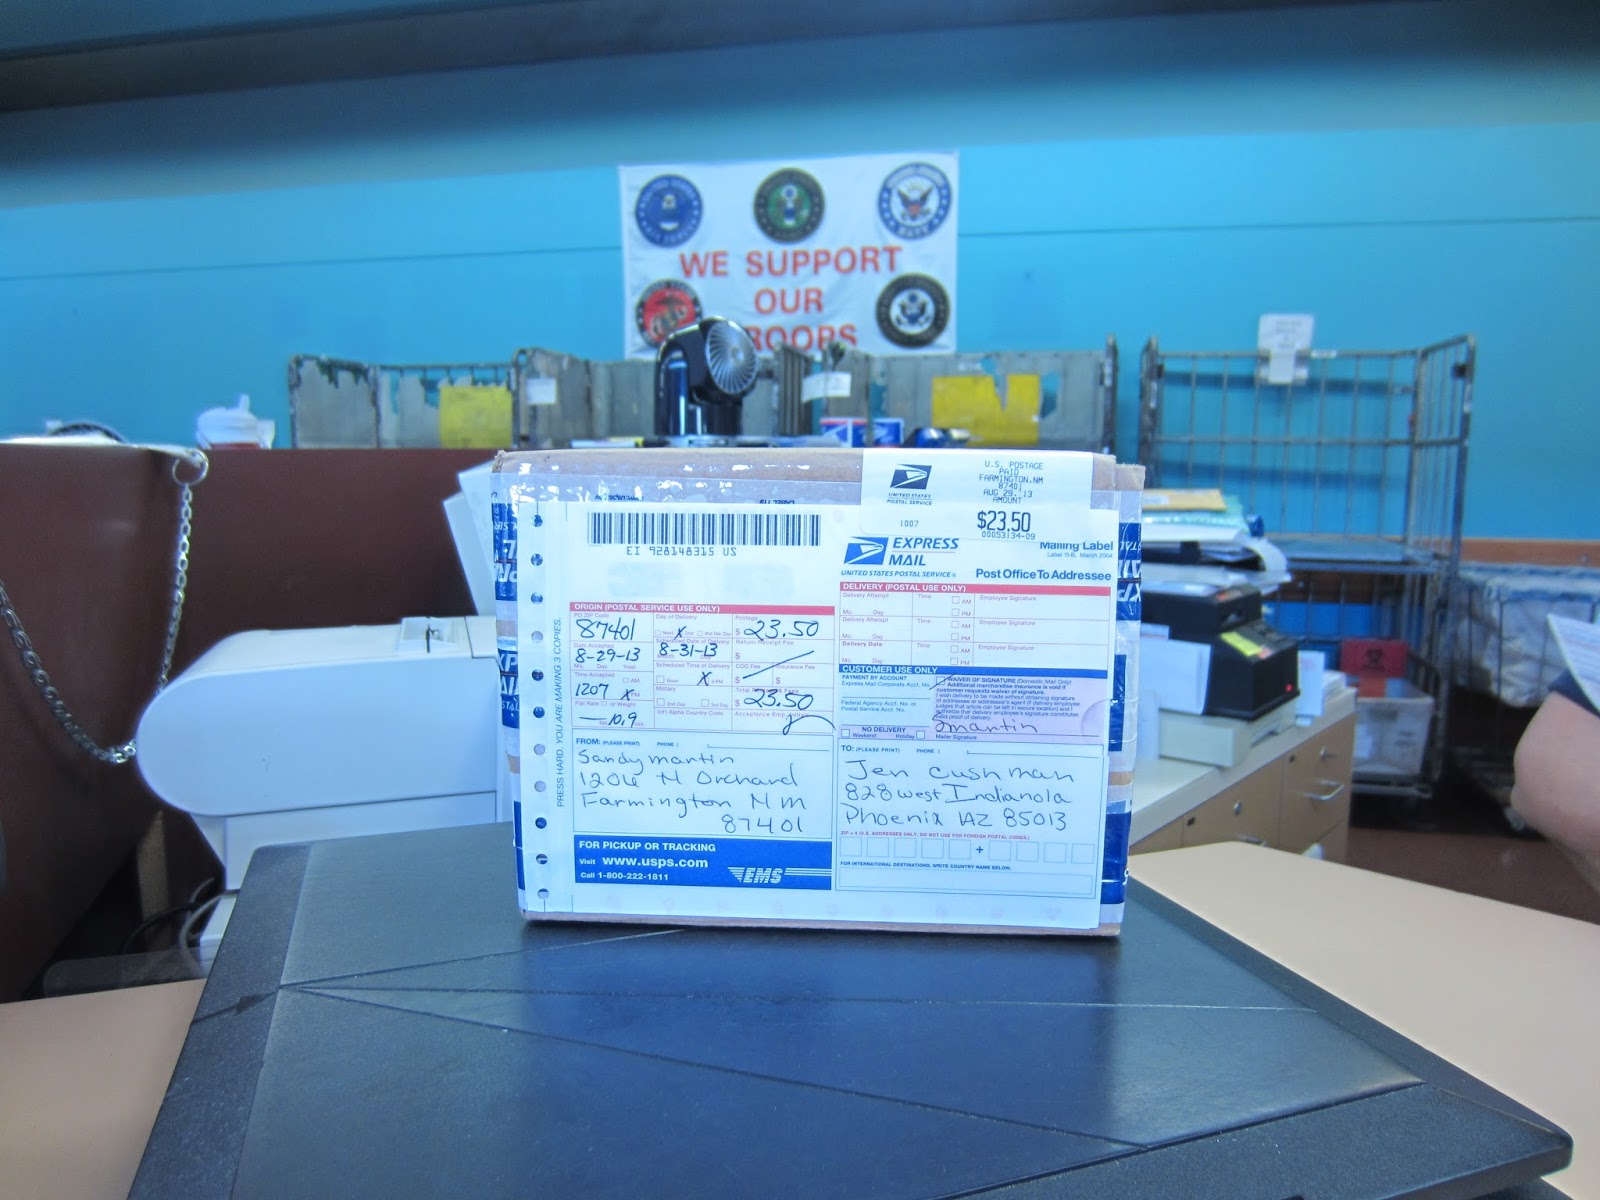
The jewelry is off to the Emmy's.  Overnight delivery.


I think I heard that the runner up for best actress will be coming to help all the artist clean!  Thats what 2nd place will get ya!!!

Friday, June 7, 2013

Ice Resin Blog

ice resin


My Ice resin necklace on the ice queen blog today.  Go visit the blog, lots of great ideas and projects from the ice resin design teams!!

Tuesday, January 8, 2013

Tech Tuesday

Check out my video on Ice Resin  for  Tech Tuesday.  It is my first video and it  has some problems.  I need to get a new camera and a new computer  (and some new knowledge on video editing!!)  Hopefully my next video will look a bit better.

I haven't posted for some time because I have been busy, busy busy.  I have been working(of course) but I have also been creating.  I have been hard at work on some new mixed media pieces like the one in the previous post.  I have lots of pieces in various stages of completion!  I hope to spend the weekend getting them all put together and then I will have lots to post.

In the mean time, here is a fun rabbit pendant I am working on.  I cast the rabbit in Ice Resin.  I made the mold from a beautiful piece of hardware lent to me by Jen Cushman.  Once the Rabbit was cast and dry, I set him in a half filled Bezel with an image.  I used Ice Resin to fill the rest of the bezel and secure him in place.  I used acrylic paint to distress the rabbit then used renaissance wax to add some shine and seal the color.